If you’ve ever bought a set of acoustic panels, stuck them on the nearest wall, and wondered why the room still sounds boxy or “live,” you’re not alone. Acoustic panels are one of the most misunderstood pieces of equipment in home studios, offices, and content-creation spaces. People assume that more panels automatically mean better sound. In reality, where you place acoustic panels for walls matters just as much as how many you buy.
This guide walks through how sound actually behaves in a room, what reflection points are, how much wall coverage you realistically need, and how placement changes depending on whether you’re treating a podcast room, a podcast studio, a home office, or a conference room.
Why Acoustic Panel Placement Matters
Covering a wall with foam or fabric-wrapped panels doesn’t guarantee good acoustics. A room’s sound is shaped by several things working together: the size and shape of the room, the materials on its walls, ceiling and floor, the furniture inside it, and what the room is actually used for. Two rooms of identical dimensions can sound completely different depending on whether one has a carpet and bookshelf and the other has bare walls and a hardwood floor.
This is why acoustic panel placement should be treated as a small planning exercise rather than a decorating decision. A handful of panels placed at the right spots often does more than a dozen placed randomly.
Sound Absorption, Reflection, Diffusion, and Soundproofing Are Not the Same Thing
These four terms get used interchangeably, but they describe different things:
- Sound absorption is when a surface (like a soft acoustic panel) converts sound energy into a tiny amount of heat, reducing how much sound bounces back into the room.
- Sound reflection happens when sound waves hit a hard surface – glass, drywall, tile – and bounce off, much like light off a mirror.
- Sound diffusion scatters sound waves in many directions instead of absorbing or reflecting them cleanly. Diffusers are often used alongside absorption panels in studios to avoid making a room feel acoustically “dead.”
- Soundproofing is a separate discipline altogether. It’s about blocking sound from entering or leaving a room, usually through mass, sealed gaps, and decoupled wall structures.
Acoustic wall panels are absorption tools. They manage how sound behaves inside a room – reducing echo, flutter, and excess reverberation. They are not a soundproofing product, and placing them on a wall will not meaningfully stop outside traffic noise or a neighbour’s conversation from entering the room.
How Sound Behaves Inside a Room
Direct Sound vs Reflected Sound
When someone speaks or plays audio in a room, the listener hears two things almost simultaneously: the direct sound that travels straight from the source to their ears, and reflected sound that bounces off walls, ceilings, and other surfaces before reaching them a fraction of a second later. When there’s too much reflected sound relative to direct sound, speech becomes harder to understand, recordings sound “roomy,” and video calls pick up an echo-like quality.
Why Hard Surfaces Create Echo and Reverberation
Hard, flat, parallel surfaces – like two bare drywall walls facing each other, or a glass window opposite a hard wall – are the biggest culprits. Sound waves bounce back and forth between them with very little energy loss, which is what creates that hollow, echo-prone character common in empty or under-furnished rooms.
What Are Acoustic Reflection Points?
Understanding First Reflection Points
A reflection point is simply the spot on a wall (or ceiling) where sound first bounces on its way from the source to the listener. In a room with a speaker and a listener, or a person talking and a microphone, the earliest and loudest reflections usually come from the surfaces closest to that direct sound path – typically the side walls, and sometimes the front and rear walls depending on the room layout.
These “first reflection points” matter more than other spots on the wall because they arrive at the listener’s ear soon after the direct sound, which is what makes them the most audibly disruptive.
How to Find Reflection Points Using the Mirror Method
A widely used, practical way to locate first reflection points is the mirror method:
- Sit in the listening or recording position – where you’d sit at a desk, in a meeting chair, or behind a microphone.
- Have someone slide a small mirror along the side wall.
- Mark the spot on the wall where you can see the reflection of the sound source (a speaker, a screen, or the opposite side of the table) in the mirror.
- Repeat on the other side wall, and on the front or rear wall if relevant.
That marked spot is a strong candidate for a panel. This method is a helpful starting point rather than a strict formula – in irregularly shaped rooms, or rooms with multiple listening positions (like a conference table), you’ll want to treat a slightly broader area rather than one exact point.
Where Should Acoustic Panels Be Placed on Walls?
Side Walls
Side walls are usually the first priority. In most rectangular rooms, the side walls closest to the listener or microphone produce some of the strongest early reflections, especially in home offices, podcast rooms, and small meeting rooms.
Front Wall
The front wall – behind a screen, speakers, or a presenter – often benefits from treatment when there’s a hard, flat surface directly facing the listening area, since reflections here can blur speech clarity or muddy audio playback.
Rear Wall
The rear wall, behind where the listener or presenter sits, is frequently overlooked. Sound that travels past the listener can bounce off this wall and return as a delayed reflection, which is particularly noticeable in longer or narrower rooms.
Around Speakers and Listening Areas
In rooms with dedicated speakers – home theatres, studios, AV-equipped meeting rooms – the wall area immediately around and between the speakers, along with the opposite listening wall, tends to need more focused treatment than the rest of the room.
How Much Wall Coverage Do You Need?
What Determines Acoustic Panel Coverage?
There’s no single coverage percentage that works for every space. How much wall area you need to treat depends on:
- Room dimensions and shape
- How much hard, reflective surface already exists (glass, tile, bare drywall)
- Existing furniture, rugs, curtains, and soft furnishings
- How much reverberation reduction the room actually needs for its purpose
- The thickness and construction of the panels
- The absorption performance of the panels being used
A small, heavily furnished home office with carpet and curtains may need very little additional treatment. A large, empty conference room with glass walls and a hard floor will need considerably more.
Why There Is No Universal Coverage Percentage
You’ll sometimes see blanket claims like “cover 20% of your walls” or “cover 40% for a professional studio.” These numbers aren’t reliable because they ignore everything else in the room – furniture, room volume, ceiling height, and the intended use of the space all shift what’s actually needed. The more useful approach is to treat reflection points first, listen or record a test, and add panels incrementally rather than aiming for a fixed percentage from the outset.
How Panel Thickness and NRC Affect Placement
Panel thickness affects which frequencies a panel absorbs well. Thin, decorative panels tend to be more effective at higher frequencies, while thicker panels generally do a better job with lower-mid frequencies as well. This is worth factoring into placement – a thin panel behind a microphone might reduce some harshness but won’t do much for a boomy, low-frequency rumble in the room.
NRC, or Noise Reduction Coefficient, is a simple rating that indicates roughly how much sound a panel absorbs across a standard range of frequencies, expressed as a number between 0 and 1. A higher NRC generally means better overall absorption. That said, NRC is a useful general indicator, not a complete picture – it doesn’t tell you how a panel performs at every individual frequency, and it says nothing about the panel’s diffusion or aesthetic properties. Two panels with a similar NRC rating can still behave differently depending on their construction and thickness.
Should Acoustic Panels Have an Air Gap Behind Them?
Mounting panels with a small air gap behind them, rather than flush against the wall, is a common technique because the extra space can improve absorption, particularly at lower frequencies. The exact benefit depends on the panel and the gap used, so it’s best treated as a general principle rather than something with one fixed, guaranteed outcome. If you’re not sure whether an air gap suits your setup, flush-mounting at the identified reflection points is still a solid starting point.
Acoustic Panel Placement for Different Rooms
Placement priorities shift depending on what the room is actually used for.
| Room Type | Typical Priority Areas |
| Home Office | Side walls near the desk, wall behind the monitor/camera |
| Conference/Meeting Room | Side walls along the table, wall opposite large glass or screens |
| Home Theatre | First reflection points on side walls, area around and between speakers |
| Podcast/Recording Room | Walls around the mic position, side walls, sometimes rear wall |
| Classroom/Commercial Space | Broader wall coverage due to larger room volume and multiple listeners |
Home Office
For video calls and voice recordings, the priority is usually the wall directly behind the camera/mic position and the side walls closest to the desk – these are what a listener or viewer “hears” most directly.
Meeting and Conference Rooms
Larger rooms with hard tables, glass partitions, and multiple people talking benefit from treating the side walls along the table and any large reflective surface directly facing the seating area, to improve speech clarity for everyone in the room.
Home Theatre
Here, first reflection points on the side walls (found using the mirror method from the main seating position) and the wall behind or around the speakers are typically the starting point, before considering the rear wall.
Podcast and Recording Rooms
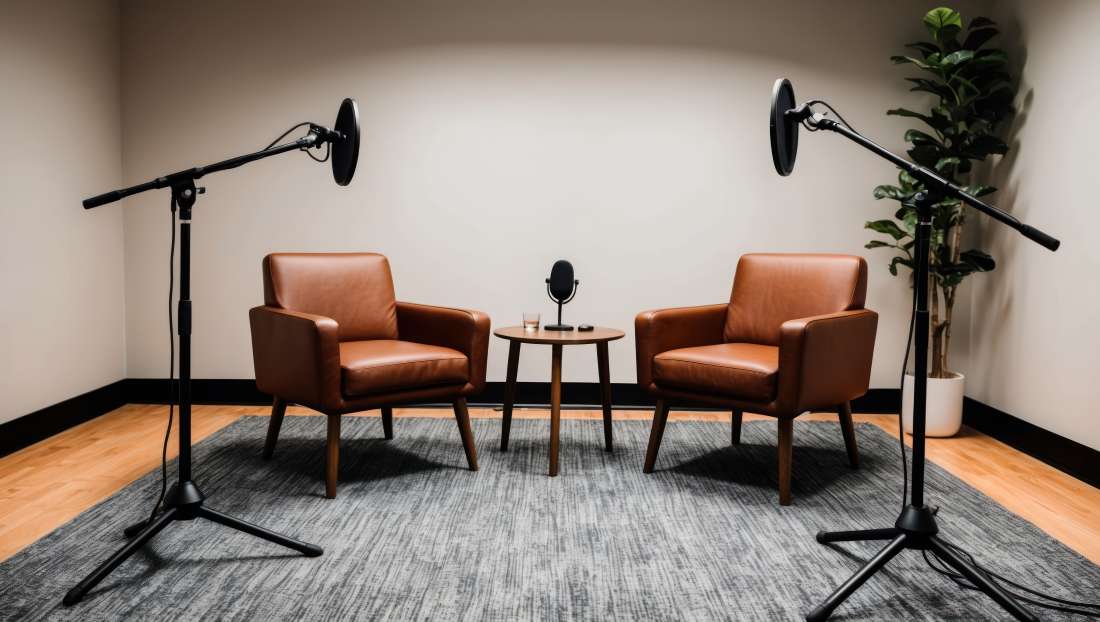
Small rooms used for recording often need attention on the walls immediately around the microphone position and the side walls, since these are close enough to the sound source to create strong early reflections. This is especially important when setting up a podcast studio, where clear speech and controlled room acoustics are essential for consistent audio quality.
Classrooms and Commercial Spaces
Because these rooms are larger and involve multiple listening positions, treatment usually needs to be spread more broadly across side walls and sometimes the rear wall, rather than concentrated at a single reflection point.
Common Acoustic Panel Placement Mistakes
- Installing panels randomly – spacing them evenly across a wall for looks, rather than at identified reflection points.
- Treating only the most visible wall – often the wall behind a desk or camera, while ignoring side and rear walls that contribute just as much to the room’s sound.
- Choosing decorative panels without checking absorption performance – some panels are designed primarily for appearance and offer limited acoustic benefit.
- Ignoring ceiling reflections – in rooms with hard, flat ceilings, ceiling clouds or corner treatment may be just as important as wall panels.
- Over-treating a room – too much absorption can make a space sound unnaturally dead or muffled, which isn’t ideal for every use case.
- Expecting panels to block outside noise – acoustic panels manage reflections inside a room; they don’t stop noise from entering or leaving through walls, doors, or windows.
Random Placement vs Planned Placement
| Random Placement | Planned Placement |
| Panels spread evenly for visual symmetry | Panels concentrated at identified reflection points |
| May leave key reflective walls untreated | Prioritises side, front, or rear walls based on actual reflections |
| Often based on guesswork | Based on the mirror method and room use |
| Results can be inconsistent room to room | More predictable improvement in clarity and reduced echo |
When Wall Panels Are Not Enough
Wall panels address wall-based reflections, but they don’t solve every acoustic issue. Rooms with hard, flat ceilings often need ceiling treatment as well. Low-frequency “boominess” in corners is usually better addressed with bass traps than standard flat panels. Rooms that sound too dead after heavy absorption may need a diffuser to restore some natural liveliness. If a room still sounds off after treating the obvious wall reflection points, it’s worth considering these additional measures rather than simply adding more wall panels.
Acoustic Panels vs Soundproofing: Don’t Confuse the Two
This is worth repeating because it’s the most common misconception buyers have. Acoustic panels reduce echo and reverberation inside a room by absorbing reflected sound. Soundproofing reduces how much sound travels between spaces, and it typically requires mass-loaded materials, sealed doors and windows, and structural changes – not lightweight wall panels. If your goal is to stop outside noise from being heard on a call or recording, acoustic panels alone won’t get you there.
Practical Acoustic Panel Placement Checklist
- Identify the listening or recording position first.
- Use the mirror method to mark first reflection points on side walls.
- Check the front and rear walls for hard, flat, reflective surfaces.
- Note existing soft furnishings (carpet, curtains, sofas, bookshelves) that are already absorbing sound.
- Decide panel thickness based on whether you’re dealing with general echo or more low-frequency issues.
- Start with reflection points before deciding on full wall coverage.
- Choose a wall type-appropriate, secure mounting method.
- Test the room (listen, record, or do a call) after initial placement before adding more panels.
- Reassess ceiling and corners if problems persist after wall treatment.
A Note on Installation and Safety
Mounting method should match your wall type – drywall anchors, wood screws into studs, or adhesive strips rated for the panel’s weight all suit different situations. Always confirm the panel is securely fixed, especially in rooms where people are moving around near the walls, and avoid overloading lightweight fixings with heavier panels. If you’re unsure about wall type or load capacity, it’s worth checking with the panel manufacturer’s mounting guidance or a professional installer before drilling.
Frequently Asked Questions
Where should acoustic panels be placed on walls?
Start with the first reflection points on the side walls closest to the listening or recording position, identified using the mirror method, then assess the front and rear walls based on the room’s layout and use.
How many acoustic panels do I need?
This depends on room size, existing furnishings, and how much reflective surface you have. There’s no fixed number – start with reflection points and add panels based on how the room sounds afterward.
Should acoustic panels cover the entire wall?
Not necessarily. Full wall coverage isn’t required for most rooms and can even make a space sound unnaturally dead. Targeted placement at reflection points is usually more effective than blanket coverage.
What are first reflection points?
They’re the spots on a wall where sound first bounces on its way from a source (like a speaker or your voice) to a listener’s ears, arriving soon after the direct sound and having the biggest impact on clarity.
Do acoustic panels reduce outside noise?
No. Acoustic panels manage reflections and reverberation inside a room. Blocking outside noise is a soundproofing task that requires different materials and construction methods.
Should acoustic panels be placed behind speakers?
The wall behind or around speakers is often a useful area to treat, particularly in home theatres or studio setups, but it should be assessed alongside the side walls and listening position rather than treated in isolation.
How high should acoustic panels be mounted?
Panels are generally most effective when placed at approximately ear height for the seated or standing listening position, since that’s where direct and reflected sound most affect what’s heard.
Are thicker acoustic panels better?
Thicker panels generally handle a broader range of frequencies, including lower-mid frequencies, better than thin decorative panels. Whether you need that depends on the specific acoustic issue you’re trying to address.
Conclusion
Good room acoustics isn’t about how many panels you can fit on a wall – it’s about understanding where sound actually reflects and treating those specific areas first. Start by identifying your first reflection points, think about what the room is used for, and build up treatment gradually rather than guessing at coverage. Whether you’re setting up a home office, a podcast room, or a meeting space, planned placement will almost always outperform a wall full of randomly placed panels.
Sajil is a content and creative industry professional with expertise in video production, photography, podcasting, and content creation. With practical knowledge of studio production and creative workflows, Sajil shares useful insights to help creators and businesses make informed decisions.